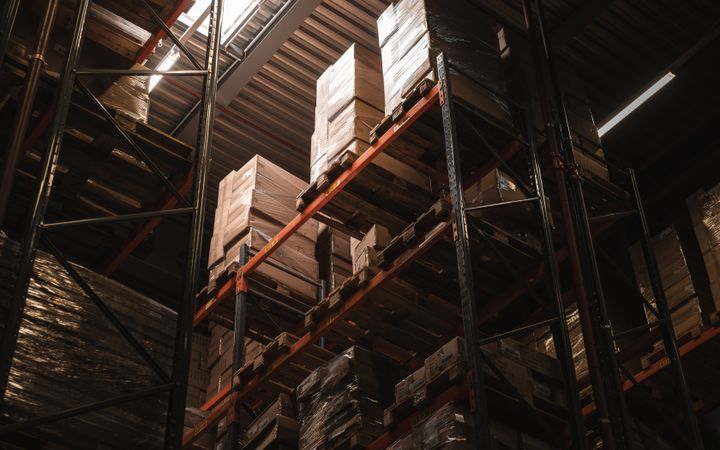
Warehouse zones: receiving, storage, picking, dispatch
When zones are clearly marked, the flow of goods and responsibility are clear too.
In a warehouse without zones, goods settle wherever they find it convenient: a load sits by the gate, the table for preparing shipments is occupied by returns, and rejects quietly mix in with ordinary shelves. As a result, when something goes missing nobody can answer the question "where was it lost?" A zone is not just a rectangle painted on the floor. It defines two things: the route of the goods and the person responsible for each place.
The main zones
A warehouse usually has five main zones:
- Receiving: unloading the truck, counting, checking documents.
- Storage: the main stock, most often pallets on racking.
- Picking: a small reserve of fast-moving goods near an aisle, from which orders are picked.
- Packing and checking: the picked order is counted, wrapped and labelled.
- Dispatch: finished orders wait here for the truck or the courier.
Supporting places are added to these: quarantine and rejects, returns, the area for charging forklift batteries, a spot for empty pallets and cardboard, a desk for paperwork. In a small warehouse several of these can share one room, but each still needs its own boundary.
How big a zone should be
Many people draw it by eye, and then the receiving zone turns out cramped while the dispatch zone is half empty. The calculation is simple: goods in the zone at one time = arrival rate × time spent in the zone.
For example, on the busiest day 90 pallets arrive and the shift is eight hours. That is about 11 pallets an hour. If goods spend two hours in the receiving zone on average, about 22 to 23 pallets will be there at once. Each needs 1.5 to 2 square metres including room to manoeuvre, which gives 35 to 45 square metres. To cover surprises on a busy day, add half as much again: about 60 square metres. The same method works for the dispatch zone; just base it on truck arrival times.
Goods flowing in one direction
Goods should move through the zones one way only: receiving, storage, picking, dispatch. No doubling back and no crossings. Two layouts are common:
- Through-flow: receiving on one side, dispatch on the opposite side. The flow is straight, but you need doors on both sides.
- U-shaped: receiving and dispatch on the same side, next to each other. Doors, the guard and dock equipment are shared, but you need a schedule so that inbound and outbound trucks do not collide in one place.
Put the fast-picking zone closer to dispatch and the large slow-moving reserve further away. Give returns a separate route so that it does not cross the route of sound stock.
The zone passport and handover points
Write one sheet for each zone: its name and code, the person responsible, what goods may be kept there, who may enter and the longest time goods may stay. In receiving, for example, goods should not sit for more than a day, otherwise it turns into a store.
When goods move from one zone to another there should be a handover point: a scan or a signature on a sheet. Then you can see between which zones a loss occurred, and responsibility is clear. In your system or in Excel, add the zone letter to the location code, for example R-, S-, P-, D-. This also helps during stock counts: the count is easy to split by zone.
Marking and mistakes
Lines on the floor are not enough. The zone name should be on a wall or a hanging sign at a height where a driver or picker can read it from a distance. Agree on a colour code and keep it the same for everyone: for example, receiving in one colour, rejects and quarantine in another, eye-catching one. If a line wears off, renew it in time: a faded boundary means a faded rule.
Common mistakes
- There is no place for rejects and quarantine, so goods stand "temporarily" in an aisle.
- The receiving zone turns into a store and goods do not move for weeks.
- Returns are put in the picking zone without checking.
- The boundary of a zone is "roughly here" and nobody is named as responsible.
Conclusion
Clear zones mean fewer questions and fewer losses: you always know where the goods are and who answers for them. SkladKontrol carries out stock counts and warehouse audits zone by zone, so you can see at once in which zone a discrepancy is building up.